


Following up on Matt’s last devlog, I’m going to wrap up our character creation process by discussing how we are rendering the characters in Lovers in a Dangerous Spacetime. Warning: It’s very Unity-y.
When creating the assets in Maya, we typically use multiple quads that are each skinned to the animated rig. If we were to import this model directly into Unity, we would get just that – each quad would have it’s own Skinned Mesh Renderer and would account for 1 draw call individually. With this method, we would be looking at between 20 – 40 draw calls per character on screen. Additionally, for our game we needed to be able to use the Unity callback OnBecameVisible/OnBecameInVisible, which uses the GameObject’s Mesh Renderer to test camera visibility. Since a character would be made of many meshes, there was no single mesh we could use the callback to check on.
Our solution was simple. In Maya, we would combine all the quads into a single mesh and that would solve all of our problems.
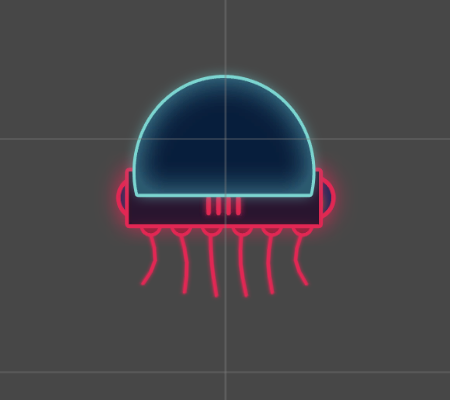
Here is the JellyBomber with the default Transparent/Diffuse shader.
As you can see, that is not exactly the result we wanted. Unity isn’t properly Z-sorting on the vertices within the mesh, so quads are being drawn on top of each other in the wrong order. But lo! Unity provides another shader just for this: Transparent/Cutout/Diffuse.
Unfortunately, this also fails to give us the desired look because it cuts off anything that doesn’t have an alpha value higher than the cutoff value. A major contributing factor to the look of our game is the bloom around each object. We accomplish this by ‘baking’ it into our textures in Photoshop, so we don’t want our shader’s discarding the semi-transparent bloom.
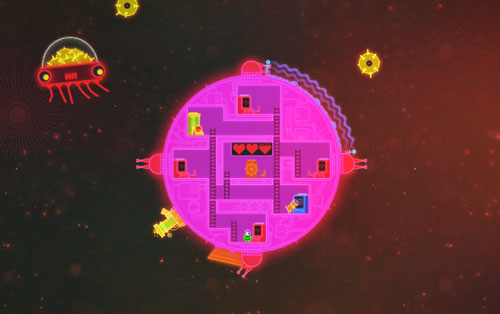
Dat bloom!
What we need is a multi-pass shader that combines both of these qualities to properly render our single mesh characters. We want the first pass to sort the geometry, and the second pass to render the bloom. I made a little shader that accomplishes this, which you can get here.
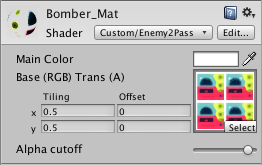
It is a very basic vertex-lit shader I implemented using just shaderlab syntax.
In the first pass, “Alphatest Greater [_Cutoff]” only renders pixels with an alpha value greater than the Alpha Cutoff (which can be set between 0 – 0.9). This covers our opaque pixels, and Z-sorts them properly.
In the second pass, we set “ZWrite Off” as well as set “ZTest Less”.
These settings make sure that the transparent bloom isn’t culled by any other transparent quad in the mesh by preventing them from being written to the Z-buffer. Finally we set “Blend SrcAlpha OneMinusSrcAlpha” which is what makes the texture transparent.

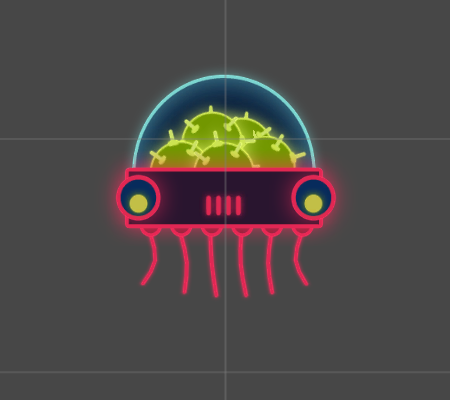
Adjusting the Alpha cutoff ammount
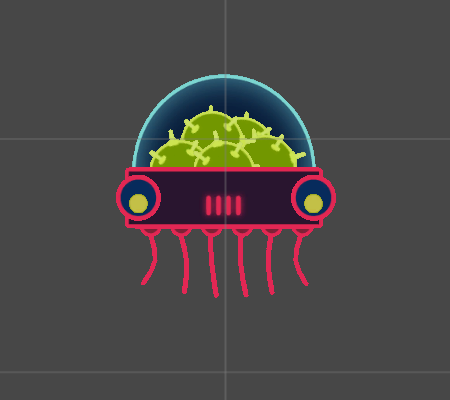
Now we are finally able to achieve the look that we want for our characters using a single mesh.
Caveats:
This shader uses Alphatest, which is very not-optimized when used on iOS/Android hardware, for some complicated reasons (I think it has something to do with the Tiled Rendering Pipeline). However, since we’re focusing on PC/Mac, this shader does the job for our game.
Additional reading:
Unity Shader reference
Updated:
Thanks to Joel via Gamasutra comments, and @trialbyfun on twitter for pointing us to this, but you can in fact control the indexes of the vertices and how the quads will sort by selecting and combining the geometry in Maya from back to front. This will work for some of our geometry but our more complex characters have animations that move in the Z-axis which means that they still need this shader to dynamically sort.
Thanks for the help!